Many carbon road bikes equipped with an electronic groupset like Di2 arrive partially assembled. Before heading out, a few key steps help ensure everything is secure, correctly aligned, and properly adjusted. The goal is straightforward: confirm critical fasteners, protect carbon contact points, validate braking performance, and make sure shifting is crisp and quiet from the start.
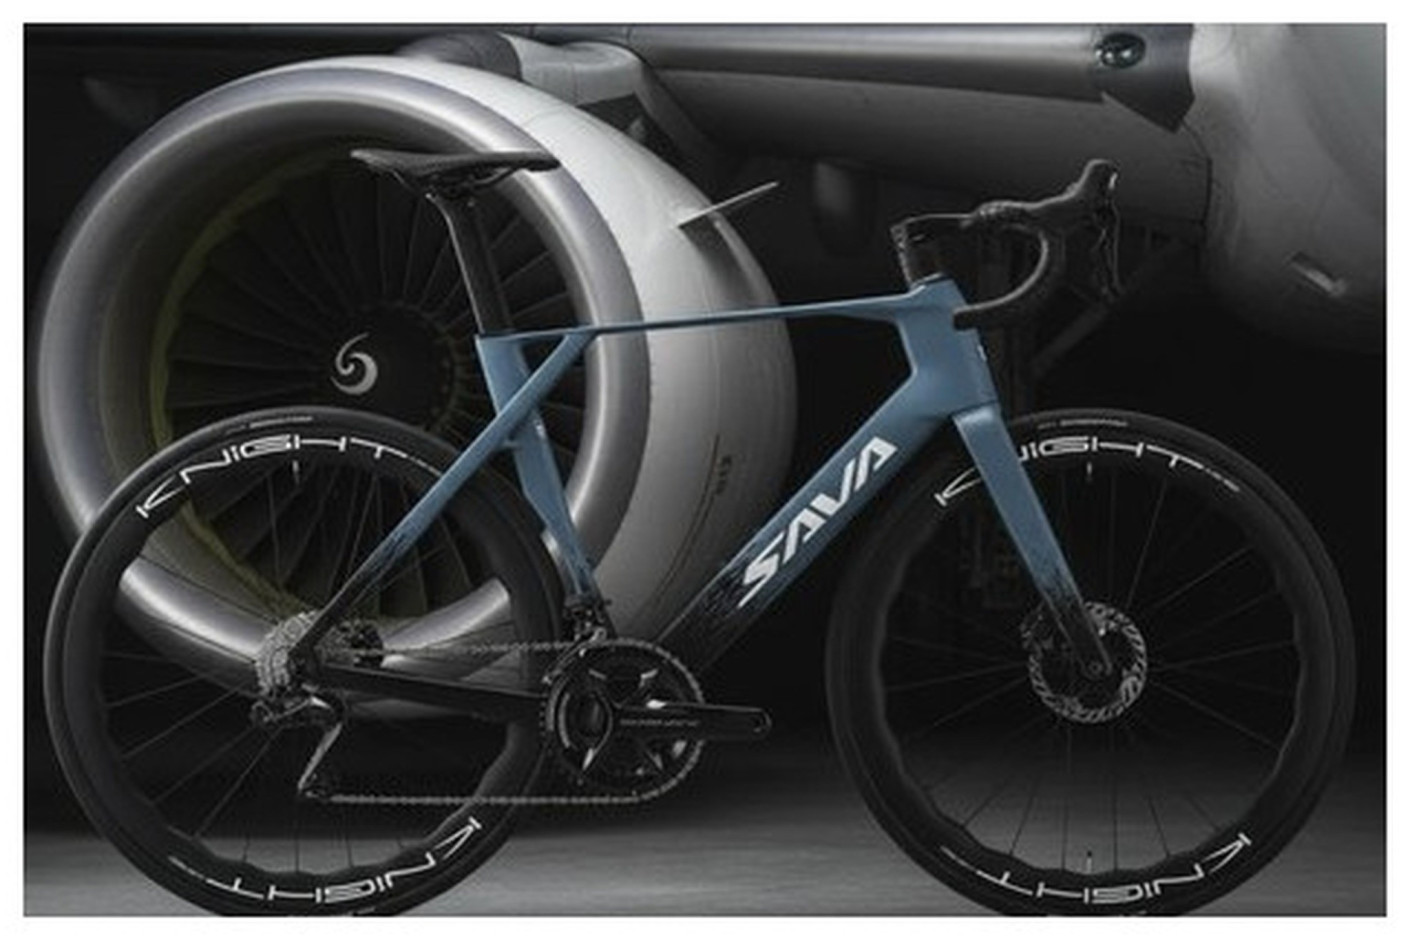
On a performance-focused build such as the SAVA Vindur 8.0 with Shimano Dura-Ace Di2, these checks help you get the most out of the bike’s handling and drivetrain feel.
? Product page: SAVA Vindur 8.0 – Carbon Road Bike with Shimano Dura-Ace Di2
What to Prepare Before You Start
Useful Tools
-
Allen keys (commonly 4 / 5 / 6 mm)
-
Torx keys if required (depends on components)
-
a torque wrench (recommended for carbon)
-
carbon assembly paste (as needed)
-
standard grease for appropriate threads
-
a clean cloth
-
a pump for tire pressure checks
Quick Unboxing Checks
-
inspect the frame and fork for any unusual marks
-
verify wheels, rotors, calipers, and levers are straight and intact
-
confirm small parts are present (axles, spacers, accessories)
Step 1: Install and Align the Cockpit
A properly aligned cockpit improves control and prevents unwanted movement.
-
position the handlebar in the stem
-
align the bar with the front wheel
-
tighten faceplate bolts gradually in a cross pattern
-
follow the recommended torque values (especially on carbon)
Carbon rule: avoid tightening “by feel.” A torque wrench helps prevent over-tightening and damage.
Step 2: Fit the Front Wheel and Check the Headset
-
install the front wheel and secure the axle
-
spin the wheel: it should rotate freely without constant rubbing
-
check for headset play:
-
apply the front brake and rock the bike gently
-
you should not feel a “click” or movement at the headset
-
If there’s play, adjust the top cap preload and re-tighten the stem in the correct order.
Step 3: Install the Seatpost and Set Saddle Height
Seatposts are a key carbon interface.
-
apply carbon paste if recommended
-
insert the seatpost to the desired height
-
tighten to the specified torque
-
fine-tune saddle angle if needed
A Simple Starting Point for Saddle Height
At the bottom of the pedal stroke, your leg should be almost straight without hips rocking. Adjust from there based on comfort and pedaling style.
Step 4: Install Pedals and Check the Crank
-
lightly grease pedal threads unless the manufacturer specifies otherwise
-
thread pedals by hand first to avoid cross-threading
-
tighten securely
-
note: left pedals typically use a reverse thread
Then:
-
spin the crank: it should feel smooth
-
confirm nothing rubs or contacts the crank area
Step 5: Brake Alignment and Lever Feel (Disc Brakes)
Even when pre-installed, disc brakes should be checked before riding.
Quick Caliper Centering
-
loosen caliper bolts slightly
-
squeeze the brake lever to center the caliper
-
re-tighten bolts gradually
-
release and spin the wheel: no constant rotor rub
Safety Check
-
lever feel should be firm and consistent
-
no visible fluid seepage around hoses or calipers
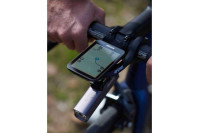
Step 6: Di2 Setup and Shifting Check
Before your first ride:
-
ensure the battery is charged
-
test shifting across the cassette and front chainrings
-
listen and watch: shifts should be clean, without hesitation
If you notice minor noise on a specific cog, a fine adjustment often resolves it. If the chain skips or shifting is inconsistent, it’s best to correct alignment before pushing harder efforts.
Step 7: Pre-Ride Checklist
Safety
-
wheels secured (thru-axle or quick release)
-
stem/handlebar aligned and torqued correctly
-
saddle and seatpost clamped securely
-
brakes working front and rear
-
tires inflated to an appropriate pressure
Fit and Comfort
-
saddle height in a reasonable starting position
-
levers reachable without wrist strain
-
no cable or hose tension when turning the bars
Your First Roll-Out
-
start with 10–15 minutes easy riding
-
test braking progressively
-
shift under light load
-
listen for any unusual noises that suggest a small adjustment is needed
Common Mistakes to Avoid
-
over-tightening carbon bolts “just to be safe”
-
skipping the headset play check
-
riding hard before confirming brake alignment
-
ignoring tire pressure and saddle position on the first outing
Why This Routine Matters on a Performance Road Bike
A performance-focused carbon bike rewards a clean setup: stable cockpit, consistent braking, quiet shifting, and a position that feels natural. Starting with correct assembly and checks helps reduce early tweaks and improves confidence from the first ride.
? Product page: SAVA Vindur 8.0 – Shimano Dura-Ace Di2
FAQ
Do I need a torque wrench for a carbon bike?
It’s strongly recommended, especially for the cockpit and seatpost. Correct torque reduces the risk of damage and prevents components from slipping.
How long does assembly typically take?
Plan for a full setup session if you want to check every point properly (cockpit alignment, brakes, Di2 shifting, and fit).
How can I tell if Di2 is properly adjusted?
Shifts should be immediate and quiet, with no consistent chain rub. Minor noise on one cog can often be fixed with a small fine adjustment.
What should I re-check after the first ride?
A quick pass over key bolts, rotor rub, and cockpit alignment is a solid routine after the first few kilometers.

Leave a Reply Cancel Reply